How to use Next.js with MongoDB


Andreas Keller / December 15, 2020
4 min read
MongoDB is a great database to use with Next.js. And the Next.js Github repository includes an example with-mongodb which we will use as a starter.
But first we need to setup a MongoDB database.
Setup MongoDB
We could install MongoDB locally, but I prefer to setup a MongoDB database on MongoDB Atlas. We can get started with their free tier.
Sign up for a MongoDB Atlas account by visiting https://www.mongodb.com/try.
Fill out the form and then on the onboarding screen choose a name for your organization and project.
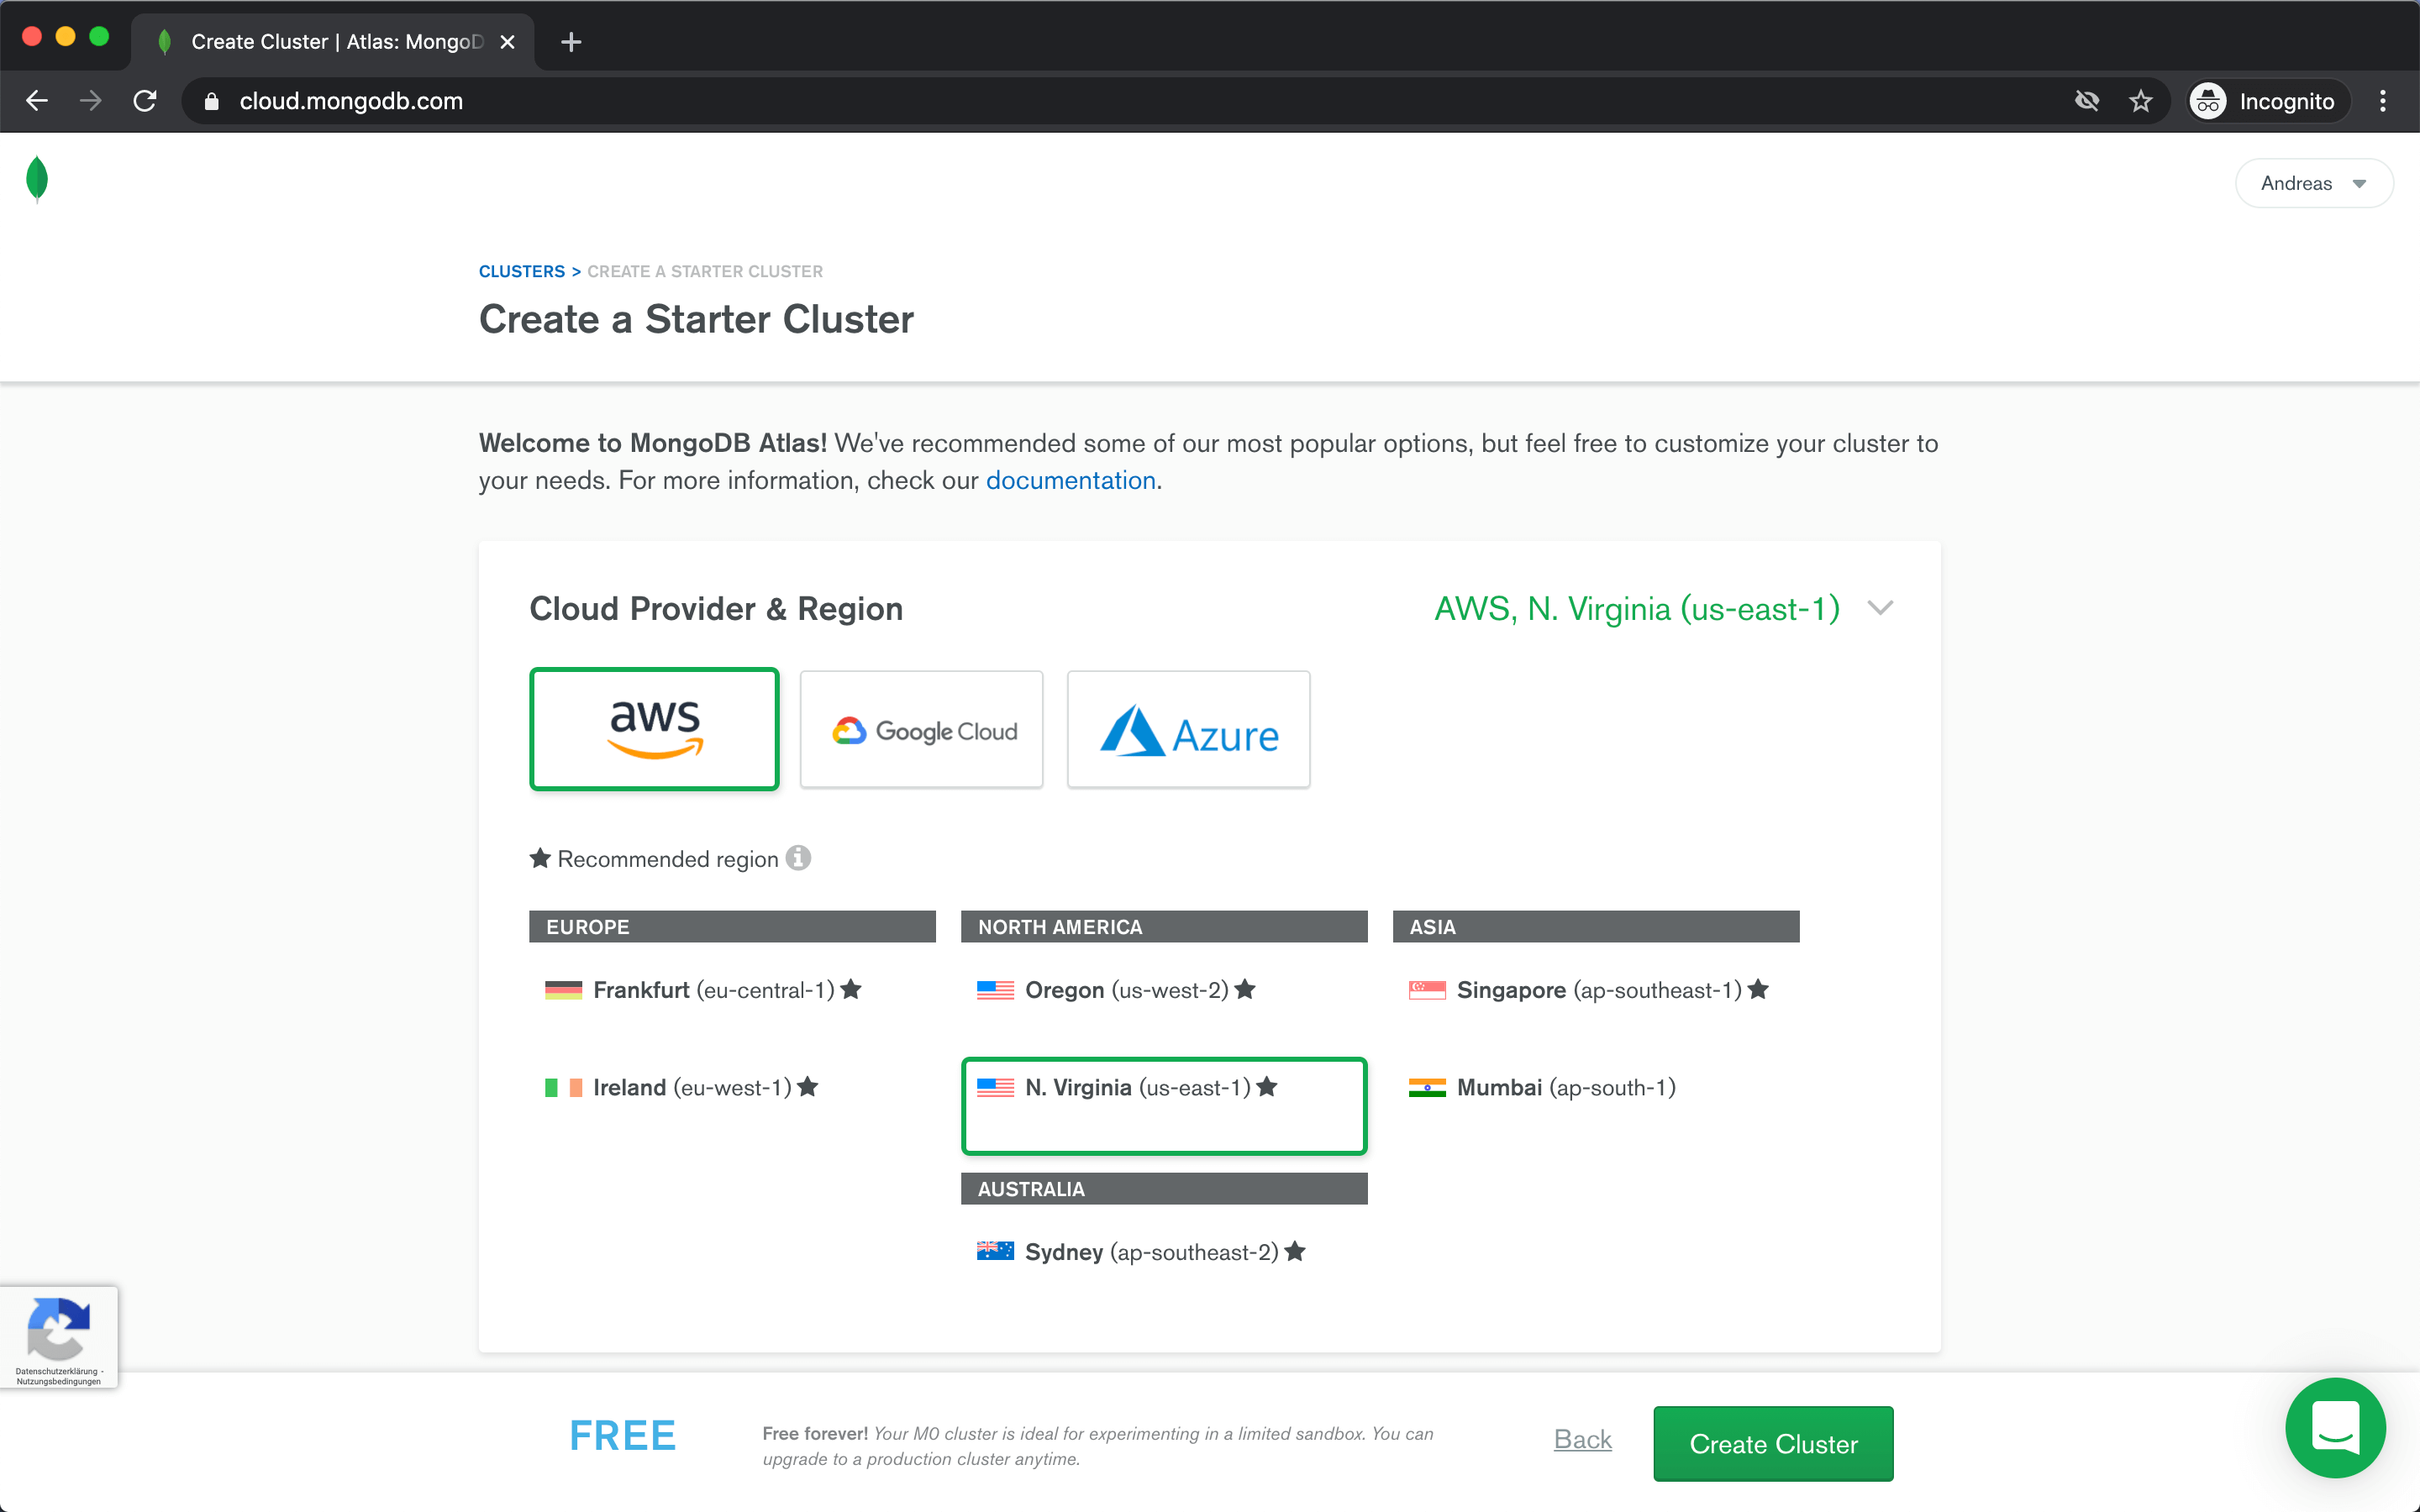
Next we will create our first cluster. Choose the shared cluster to get started for free.
Then choose one of the available cloud providers and regions, give your cluster a name and click Create Cluster.
Connect to database
After your cluster is ready, click Connect on the cluster overview page.
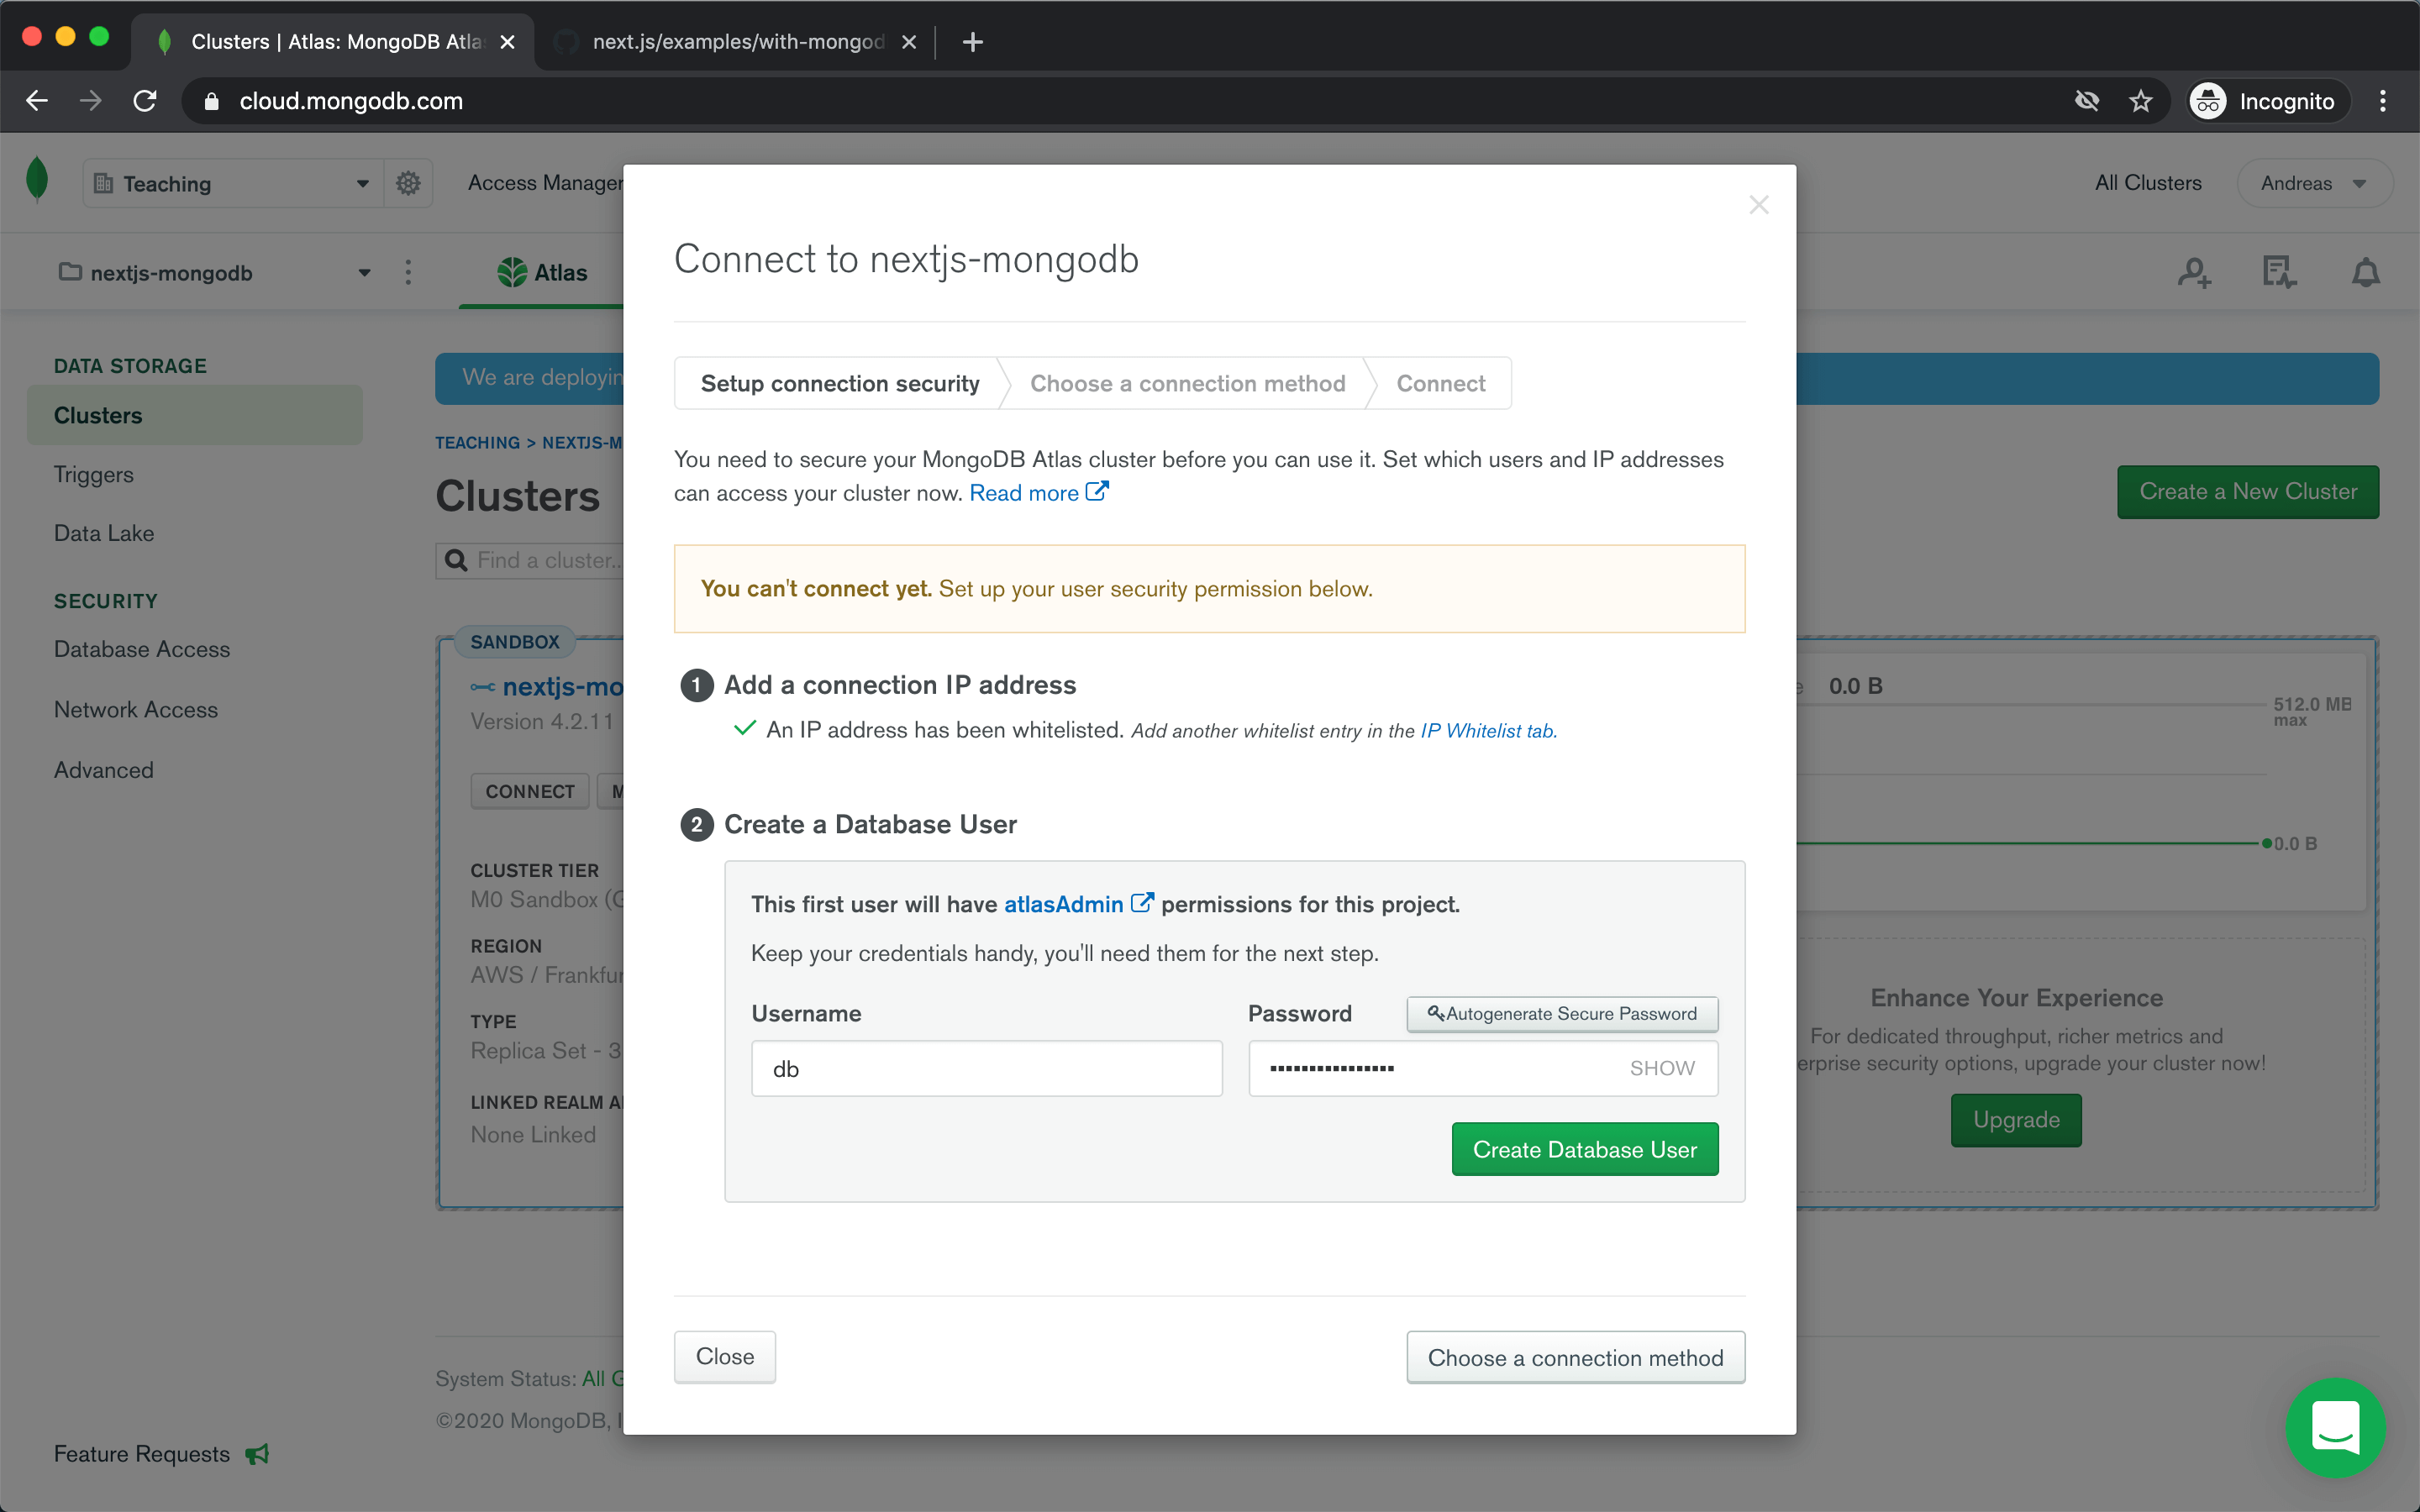
Before you can connect to your database, you need to allow access from your current IP address or allow access from anywhere.
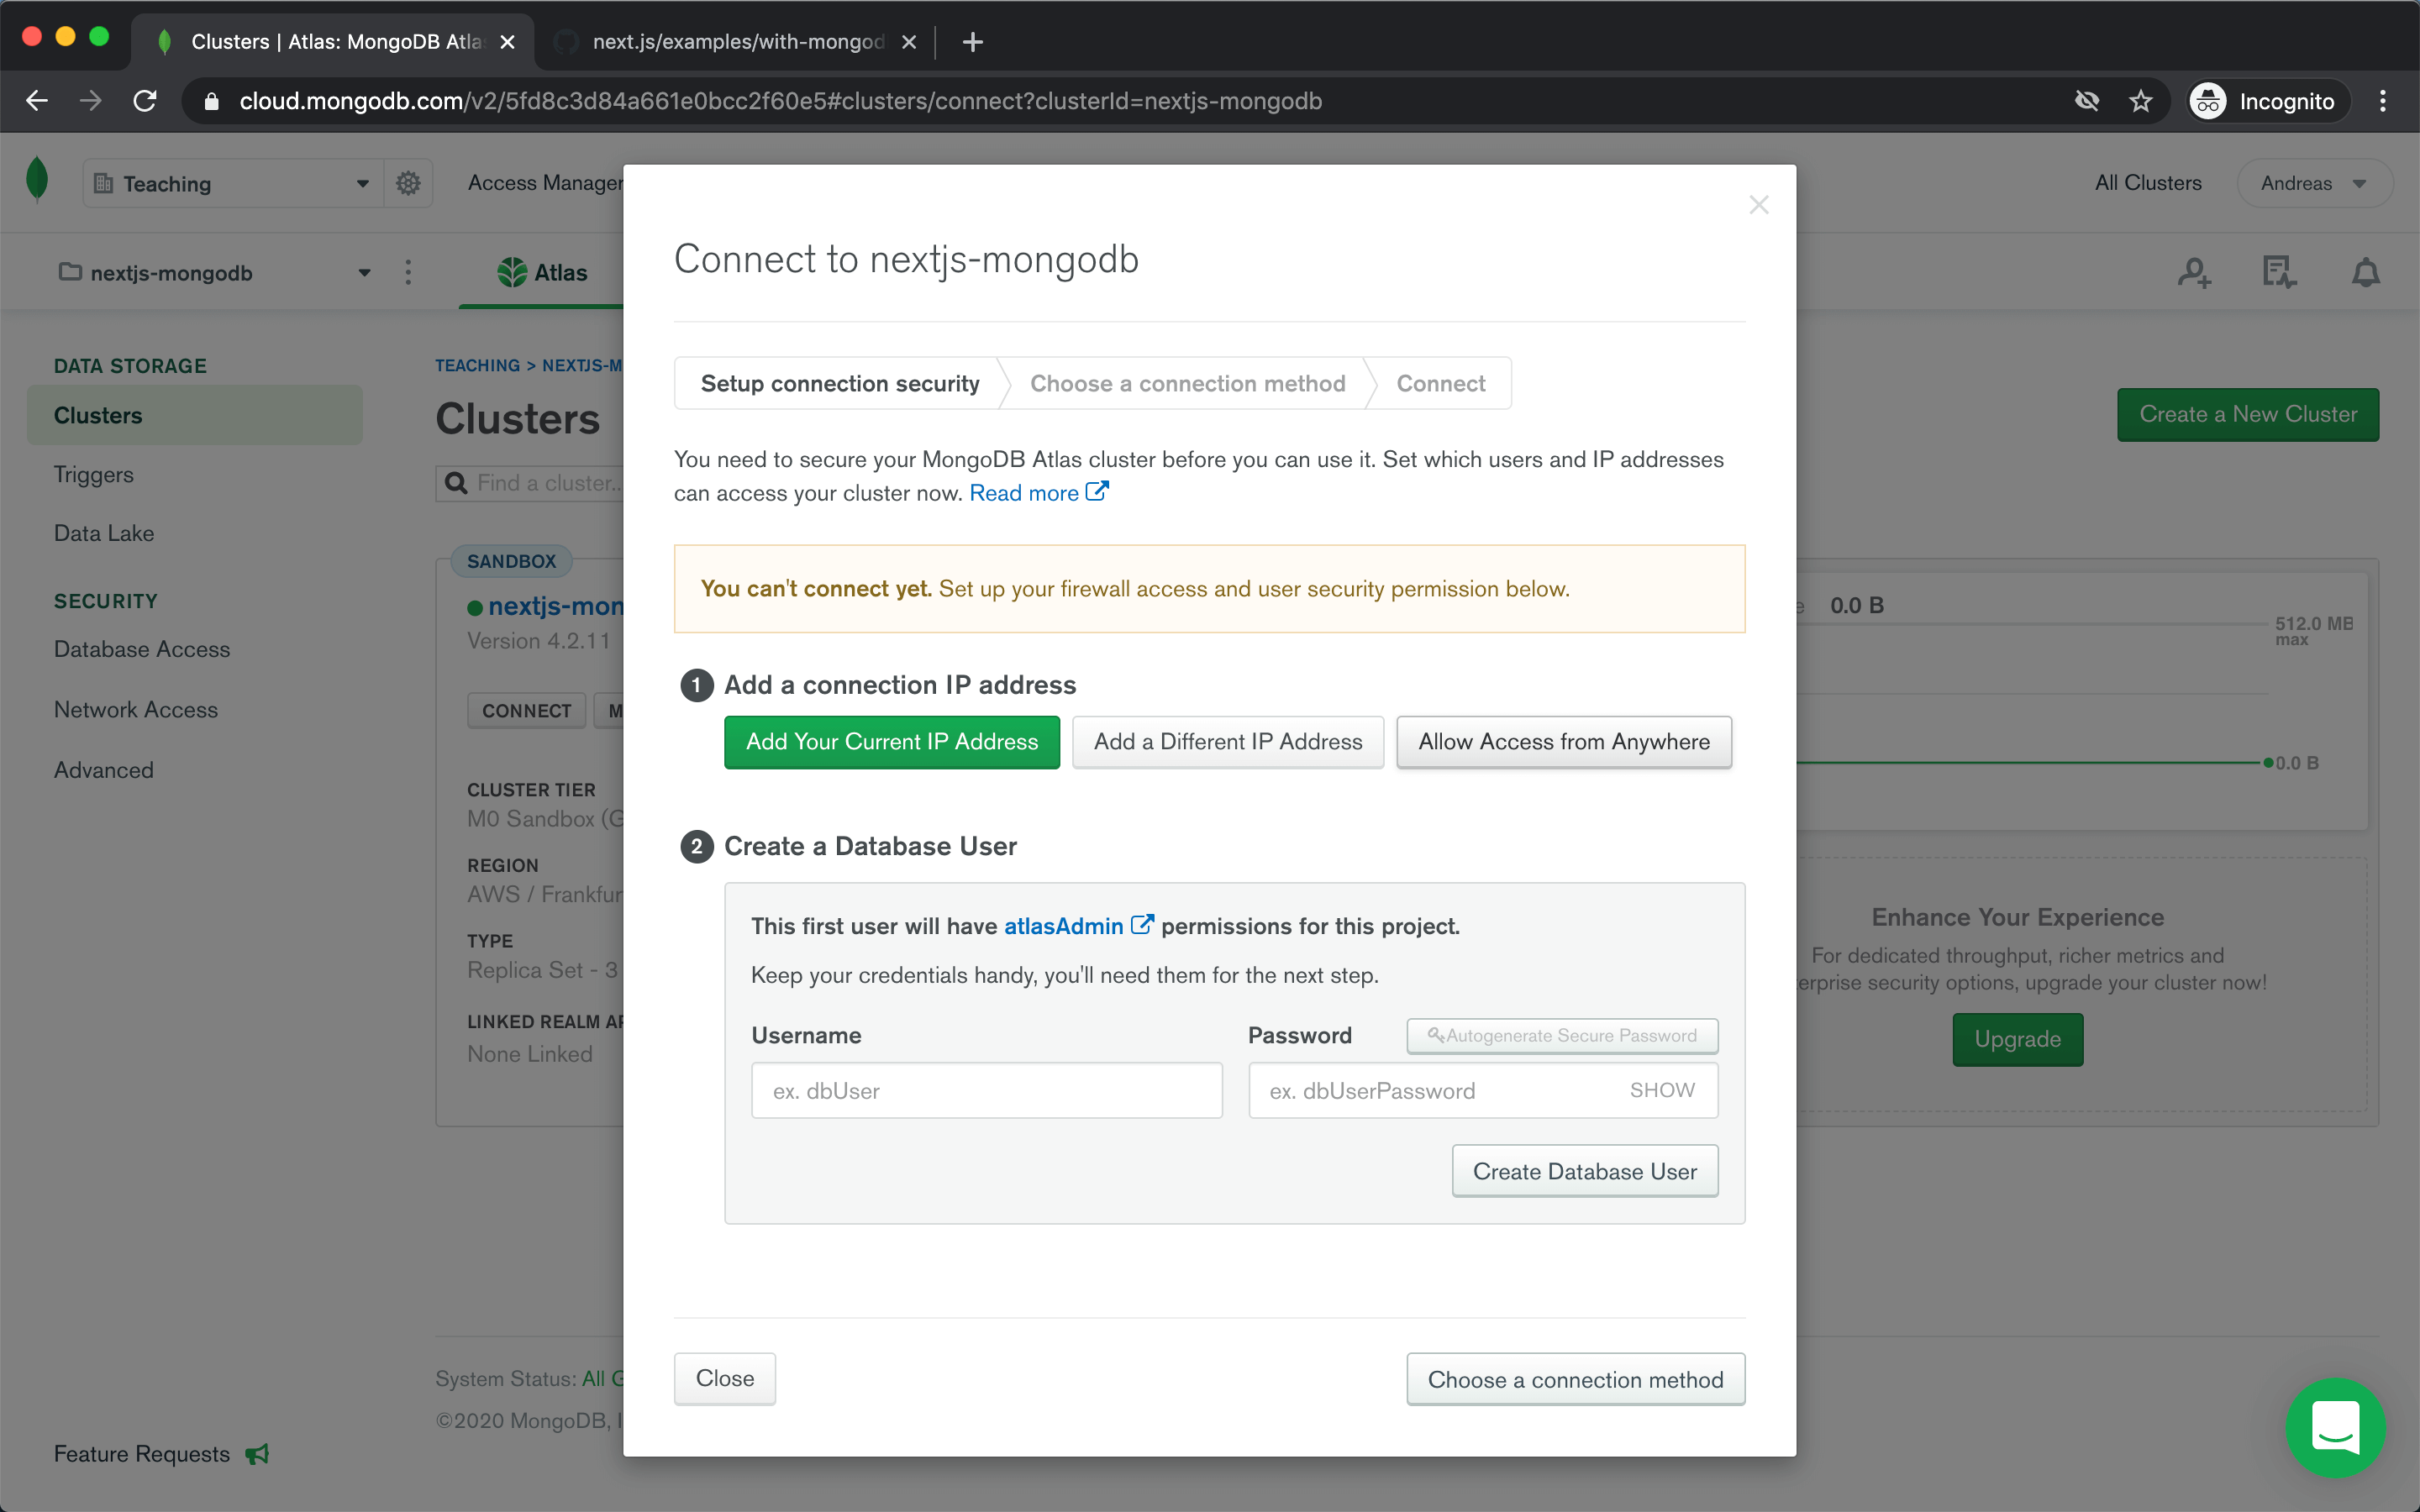
Then you need to create a database user.
Now you are ready to connect to your database. Choose Connect your application and copy the connection string (Node.js & version 3.6 or later) to use in our Next.js app.
mongodb+srv://db:<password>@nextjs-mongodb.c0ebr.mongodb.net/<dbname>?retryWrites=true&w=majority
MongoDB Compass
I find it helpful to have a GUI client to troubleshoot issues with your database. For MongoDB I would recommend using MongoDB Compass.
Create our Next.js app
Let's create our app by running
npx create-next-app --example with-mongodb nextjs-mongodb
# or
yarn create next-app --example with-mongodb nextjs-mongodb
Set up environment variables
Our app expects two environment variables, MONGODB_URI and MONGODB_DB.
Rename the .env.local.example file to .env.local as Next.js has built-in support for loading environment variables from .env.local into process.env.
mv .env.local.example .env.local
We then set MONGODB_URI to the copied connection string from MongoDB Atlas and replace <password> with our password and <dbname> with our database name.
We replace MONGODB_DB with our database name as well.
MONGODB_URI=mongodb+srv://db:<password>@nextjs-mongodb.c0ebr.mongodb.net/nextjs-mongodb?retryWrites=true&w=majority
MONGODB_DB=nextjs-mongodb
Run Next.js in development mode
npm run dev

# or

yarn dev
Your app should be up and running on http://localhost:3000!.
You should see a message stating "You are connected to MongoDB". If not ensure that you have provided the correct MONGODB_URI and MONGODB_DB environment variables.
Check out code
The file utils/mongodb.js exports the function connectToDatabase. It uses the mongodb client library to connect to our database. What is interesting is how the connection is cached. Both to circumvent new connections anytime your app is hot reloaded in development mode and also to reuse connections in production.
import { MongoClient } from 'mongodb'

const { MONGODB_URI, MONGODB_DB } = process.env

if (!MONGODB_URI) {
  throw new Error(
    'Please define the MONGODB_URI environment variable inside .env.local'
  )
}

if (!MONGODB_DB) {
  throw new Error(
    'Please define the MONGODB_DB environment variable inside .env.local'
  )
}

/**
 * Global is used here to maintain a cached connection across hot reloads
 * in development. This prevents connections growing exponentiatlly
 * during API Route usage.
 */
let cached = global.mongo
if (!cached) cached = global.mongo = {}

export async function connectToDatabase() {
  if (cached.conn) return cached.conn
  if (!cached.promise) {
    const conn = {}
    const opts = {
      useNewUrlParser: true,
      useUnifiedTopology: true,
    }
    cached.promise = MongoClient.connect(MONGODB_URI, opts)
      .then((client) => {
        conn.client = client
        return client.db(MONGODB_DB)
      })
      .then((db) => {
        conn.db = db
        cached.conn = conn
      })
  }
  await cached.promise
  return cached.conn
}
In pages/index.js we use our function connectToDatabase in getServerSideProps to connect to our database and check if we are connected.
export async function getServerSideProps(context) {
  const { client } = await connectToDatabase()

  const isConnected = await client.isConnected() // Returns true or false

  return {
    props: { isConnected },
  }
}
Congrats! You now have a Next.js app connected to a MongoDB database. In the next article we can build on this to create a CRUD API route.